Homemade Best Banana Pudding Recipe You’ll Ever Make
Are you a banana pudding lover, but you think it’s hard to make? Then don’t worry because I have a simple recipe that you can make at home easily, and it tastes amazing.
It’s very simple to make. You don’t need a lot of ingredients or much special equipment. This recipe has creamy pudding, sweet bananas, and crunchy wafer cookies.
Till now, whoever has tried it has loved it.
I will share my favorite, easy-to-make banana pudding recipe. This dessert is so close to my heart, and believe me, this is going to be the best banana pudding you will taste in your life.
I will guide you step by step and show you how to make this delicious dessert. I am going to share some personal tips as well.
So let’s get started.
Prep Time
15 min
Cook Time
20 min
Total Time
35 Min
Servings
8 – 10
Difficulty
Easy
Flavor
Creamy
Why This Easy Banana Pudding Recipe Is Special
This isn’t just any old banana pudding recipe. I worked hard on this for many years. I kept trying different things to make it better. Now I’m really happy with how it turned out. I did all this because I really care about it.
What sets it apart is the rich, homemade pudding base that’s miles better than anything you can get from a box. We’re also going to use real whipped cream for an extra touch of luxury.
I’ve made this pudding for countless family gatherings, and It’s always popular with everyone.
In this post, I’ll walk you through every step of making this amazing recipe. We’ll cover everything. From choosing the perfect bananas to getting the perfect pudding. I’ll also share some expert tips and tricks I’ve learned along the way. So, grab your apron, and let’s dive in!
Ingredients
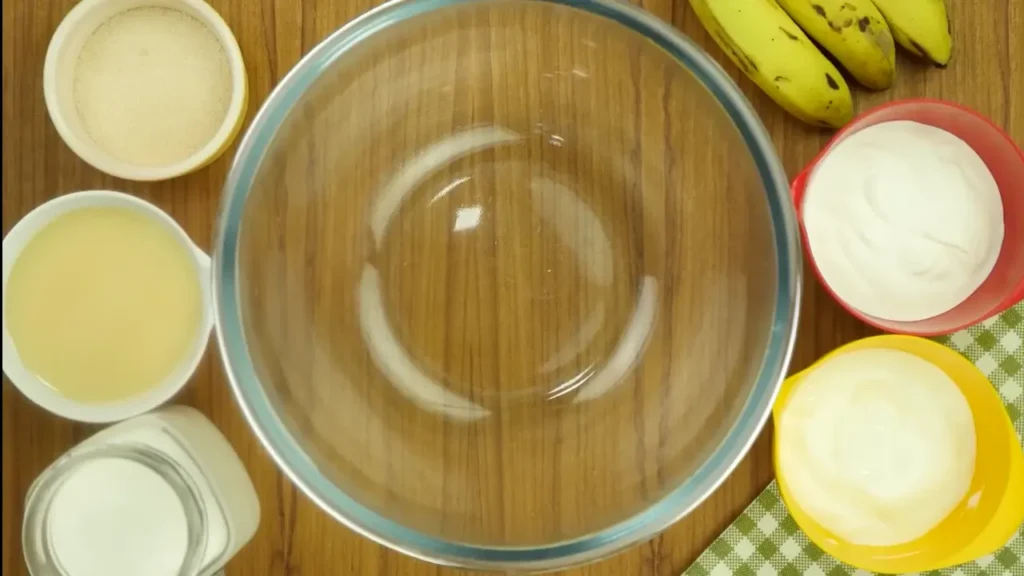
Alright, let’s get our ingredients sorted. For this banana pudding recipe, you will need:
- 5–6 ripe bananas
- 1 box of vanilla wafers (I love using Nilla Wafers)
- 3/4 cup sugar
- 1/3 cup all-purpose flour
- 1/4 teaspoon of salt
- 3 cups of whole milk
- 3 large egg yolks
- 2 tablespoons of unsalted butter
- 2 teaspoons of vanilla extract
- 2 cups of heavy whipping cream
- 1/4 cup powdered sugar
Essential Equipment for Banana Pudding Recipe
Mixing Bowls
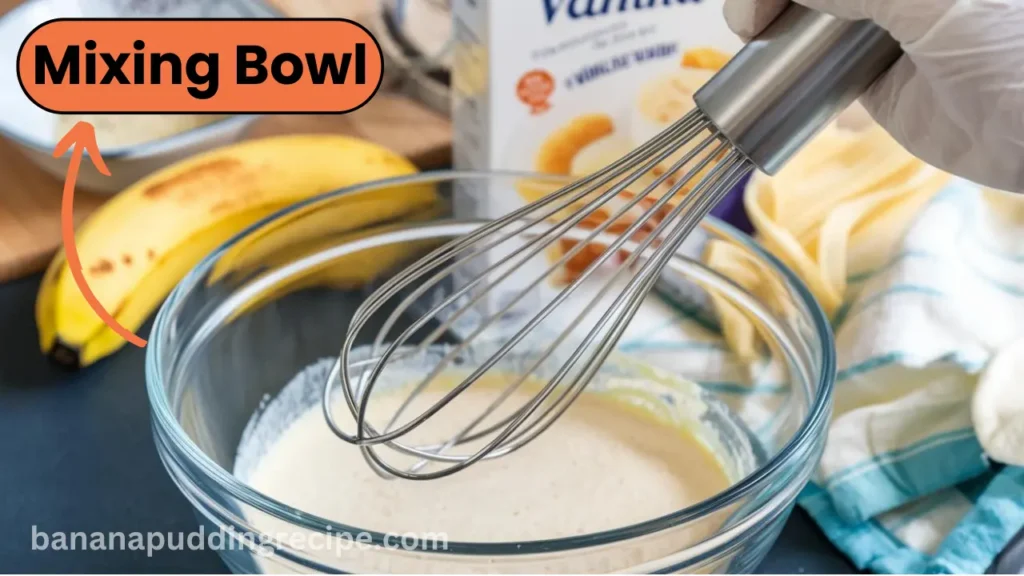
- Essential for preparing the pudding mixture and whipping the cream.
- Use separate bowls for mixing dry and wet ingredients.
- Tip: Use glass or stainless steel bowls. They work best for stiff peaks when whipping heavy cream.
Whisk
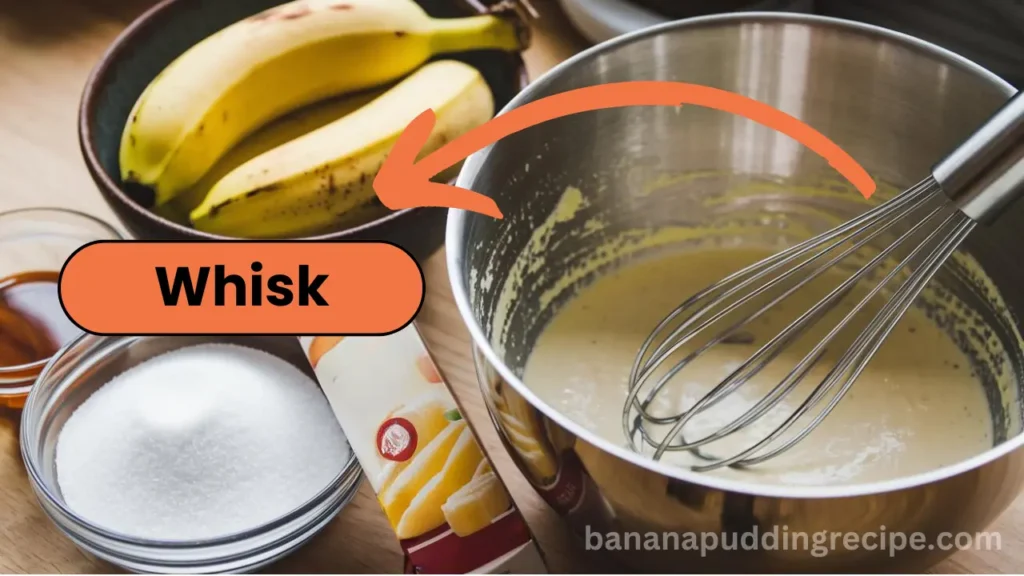
- Crucial for creating a smooth, lump-free pudding consistency.
- It helps to add air to the sweetened condensed milk and vanilla extract mixture.
- Can also be used to hand-whip cream if you do not have an electric mixer.
Spatula

- Perfect for folding whipped cream into the pudding mixture.
- Useful for scraping down the sides of the bowl to ensure all ingredients are well combined.
- Helps create even layers when assembling the banana pudding.
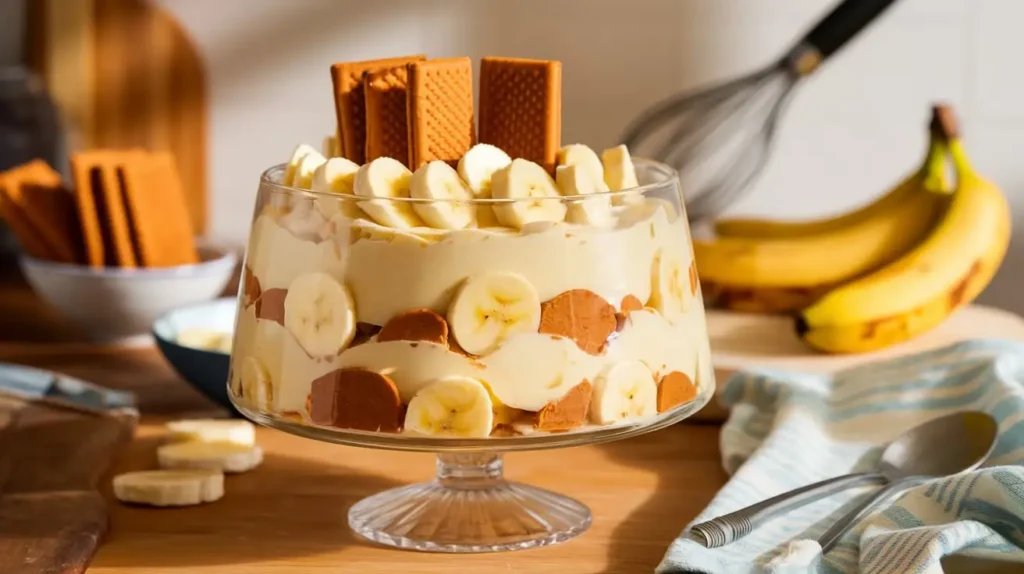
Baking Dish or Trifle Bowl
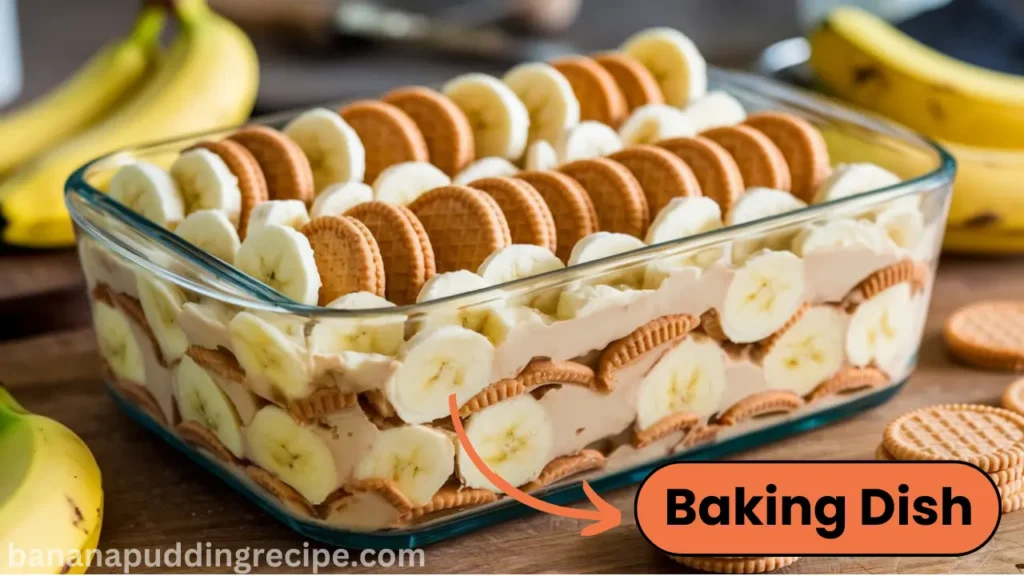
- A clear glass dish showcases the beautiful layers of this great recipe.
- A 9×13-inch dish is best for larger, potluck-size batches.
- Tip: For an elegant serve of Magnolia Bakery’s banana pudding, use individual dishes or mason jars.
Electric Mixer (optional but helpful)
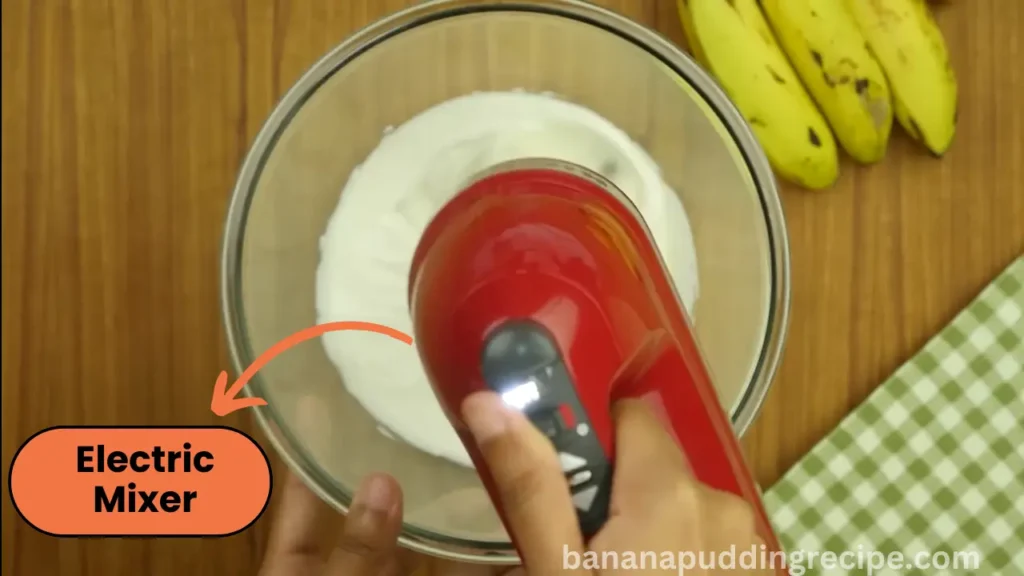
- Makes whipping cream easier and faster.
- Useful for achieving the perfect texture in homemade pudding recipes.
- Can be used to mix the Jell-O pudding mix if you’re using an instant version.
Measuring cups and spoons
- Ensure accurate measurements for a consistent, amazing recipe every time.
- Helpful when portioning out ingredients, like vanilla extract, or adjusting the sweetness.
Sharp Knife
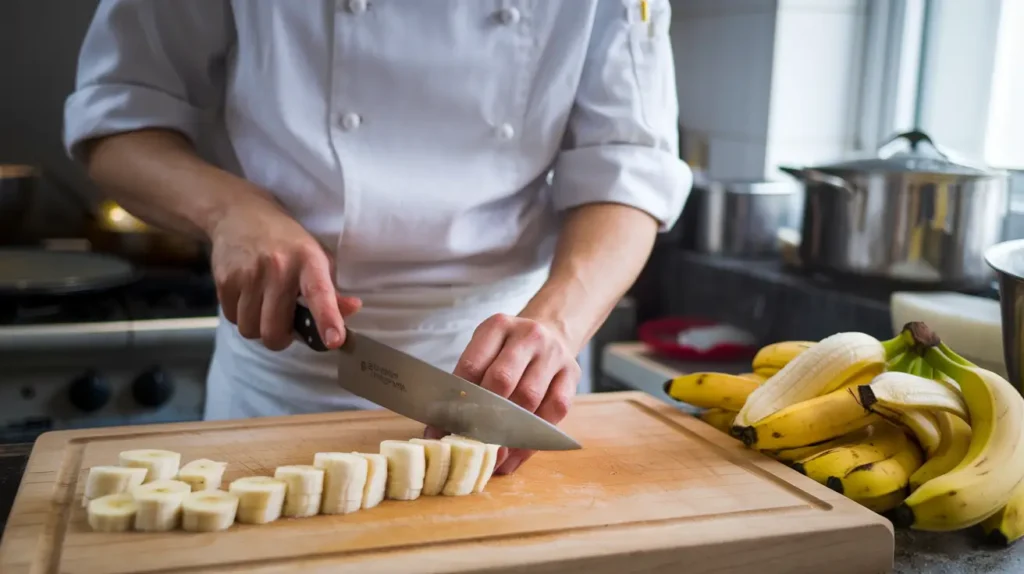
- Essential for slicing fresh bananas evenly.
- A sharp blade prevents bruising the fruit, maintaining the pudding’s aesthetic appeal.
Plastic Wrap
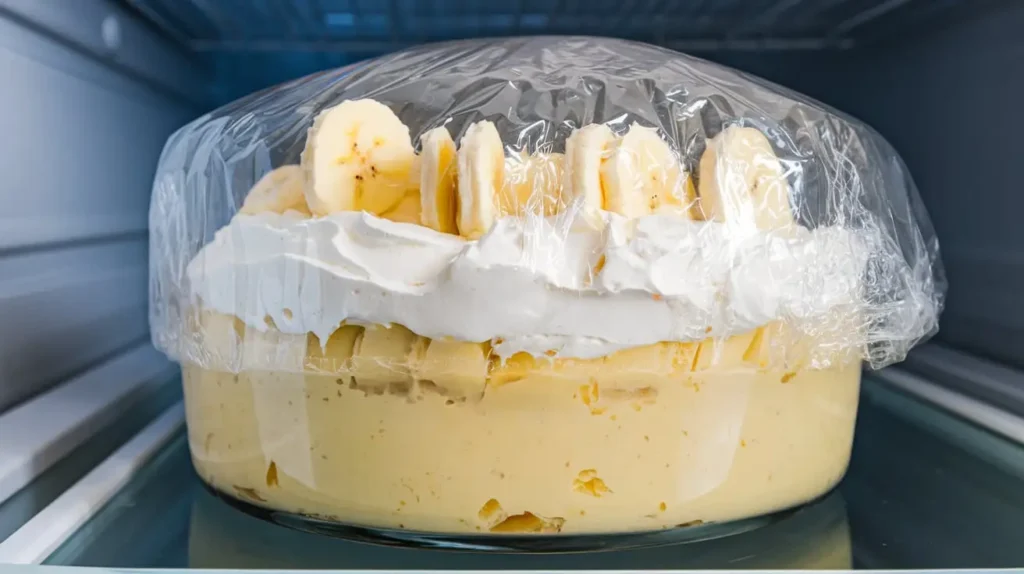
- Useful for covering the pudding while it chills in the refrigerator.
- Prevents skin from forming on top of the pudding mixture.
Remember, these tools can help. But, an easy banana pudding recipe is beautiful in its simplicity. With a few basic kitchen items, you can make a dessert that rivals Magnolia Bakery’s famous banana pudding.
Step-by-Step Recipe for the Best Banana Pudding
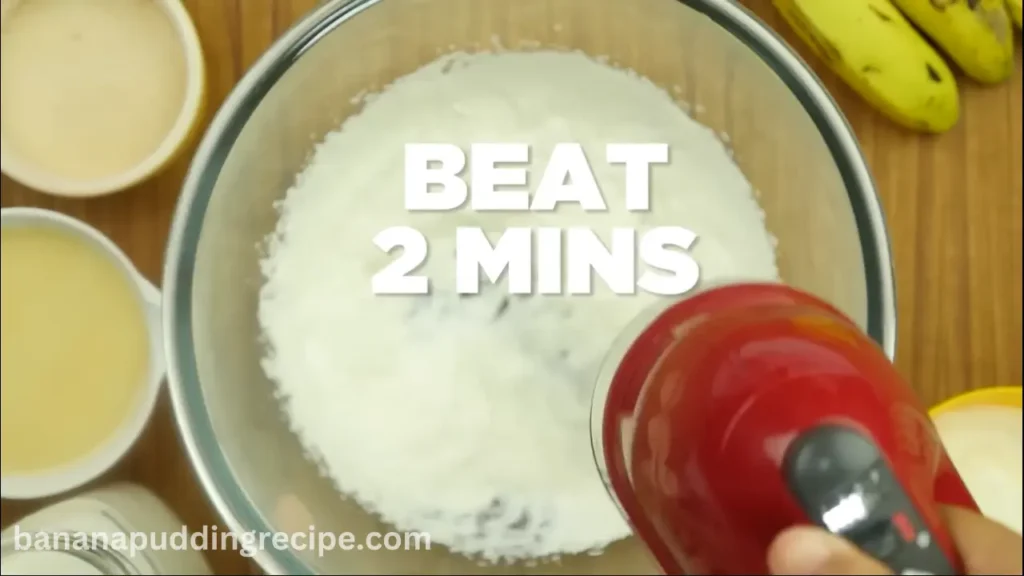
- In a large bowl, add cream and beat for 2 minutes.
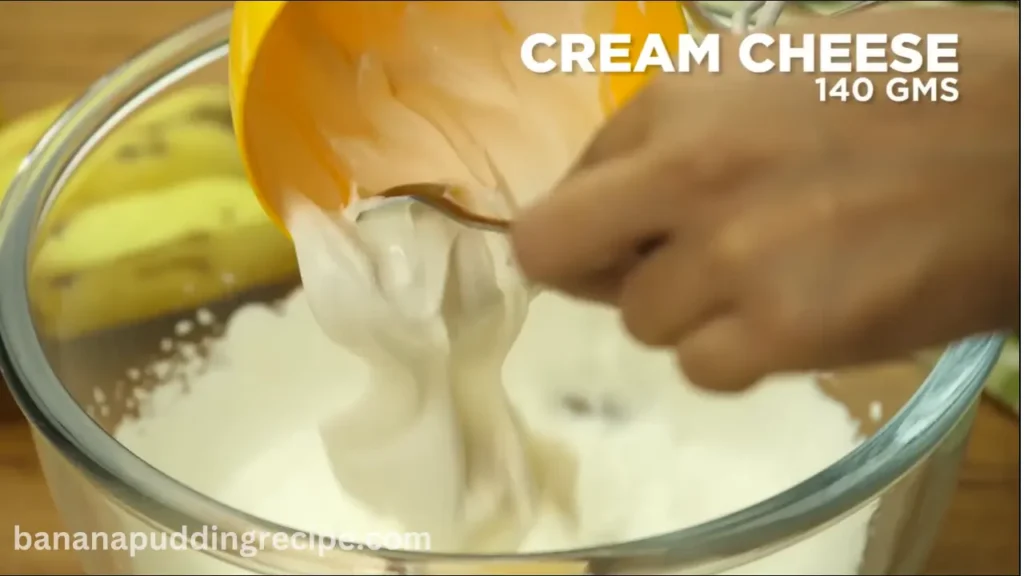
- Add cream cheese and beat it.
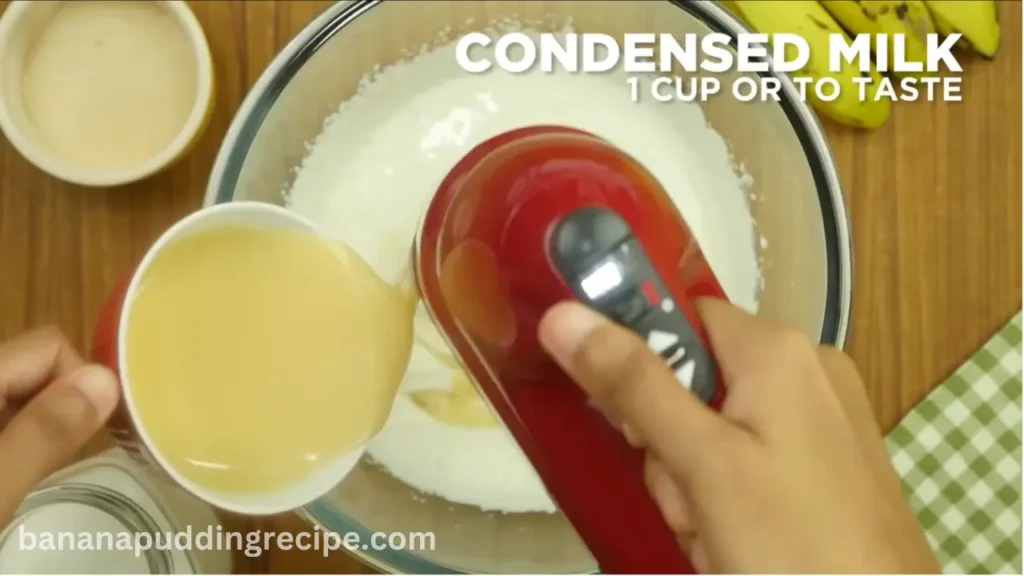
- During beating, add condensed milk and beat well.
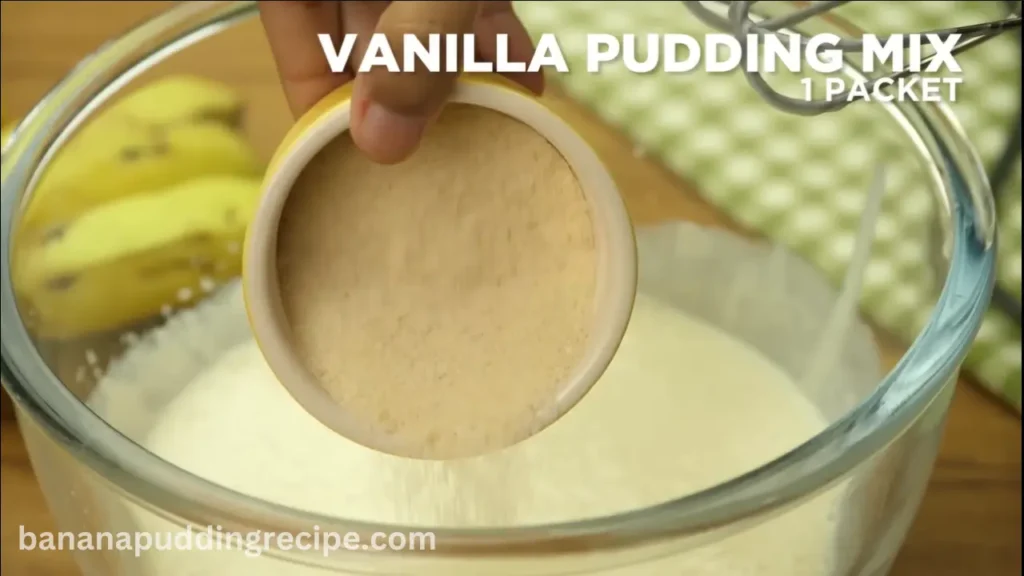
- Add vanilla pudding mix and beat until well combined.
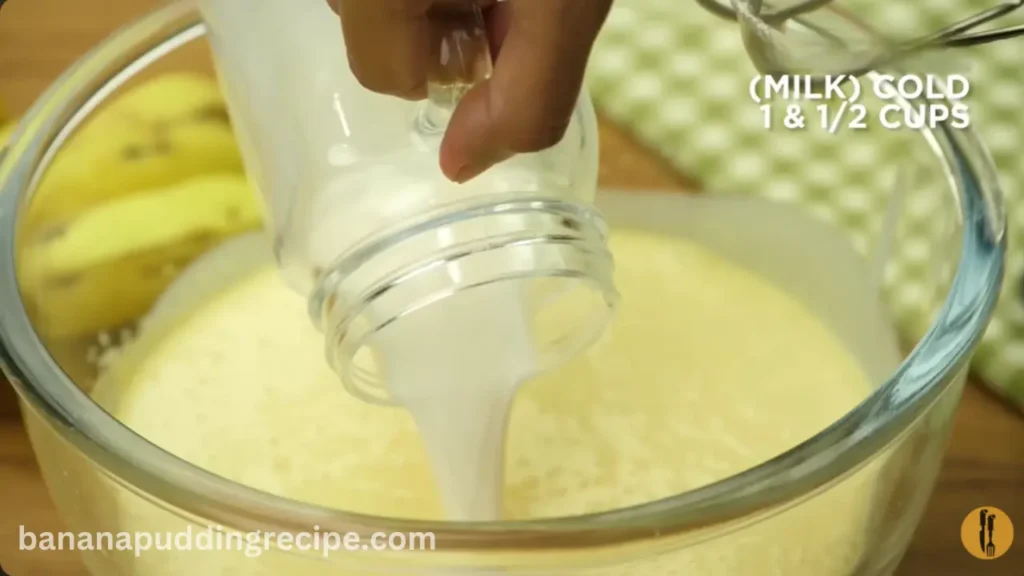
- add cold milk and mix well.
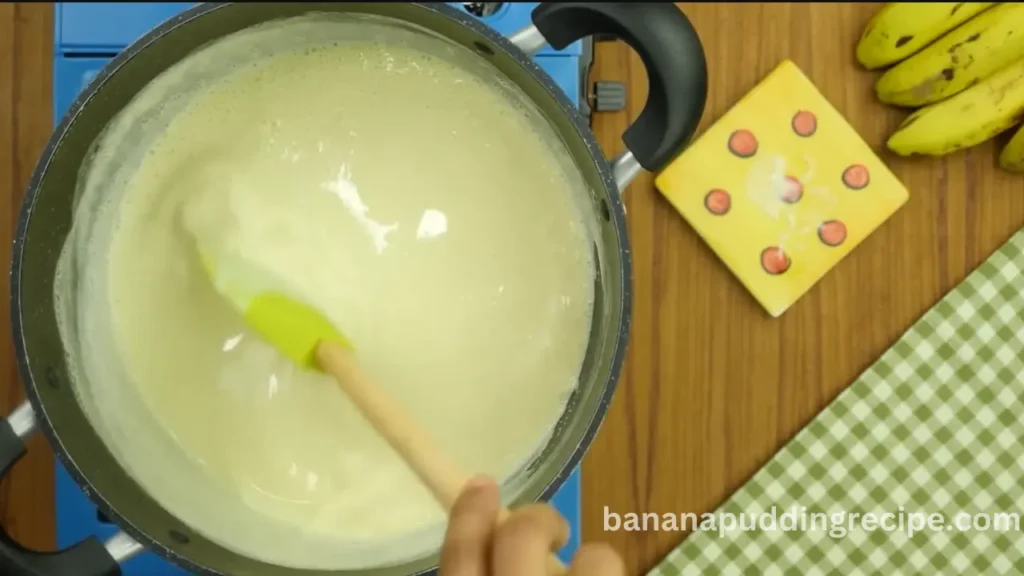
- In a pot, add the whole beaten mixture, keep stirring, and cook on low flame until thickened.
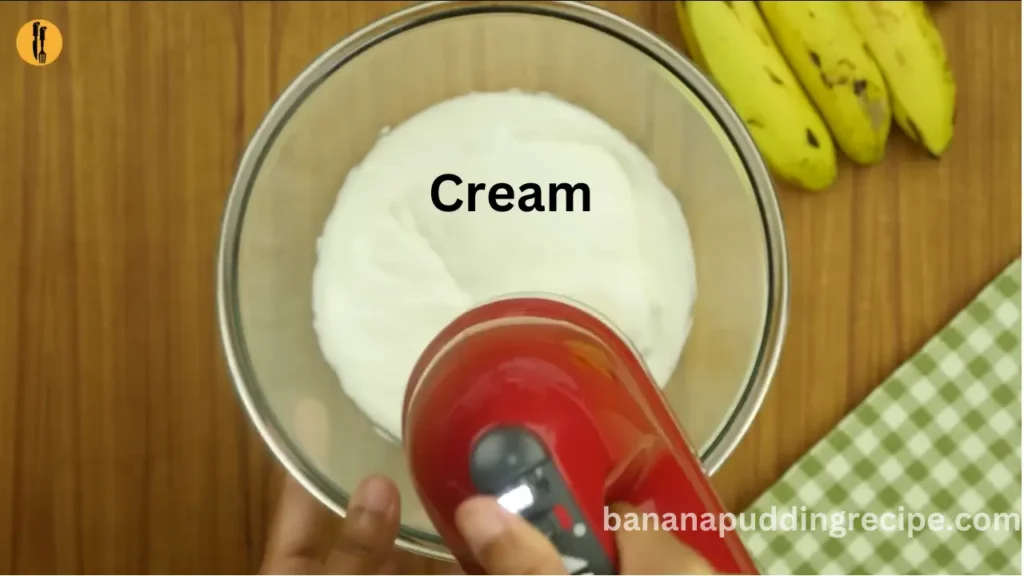
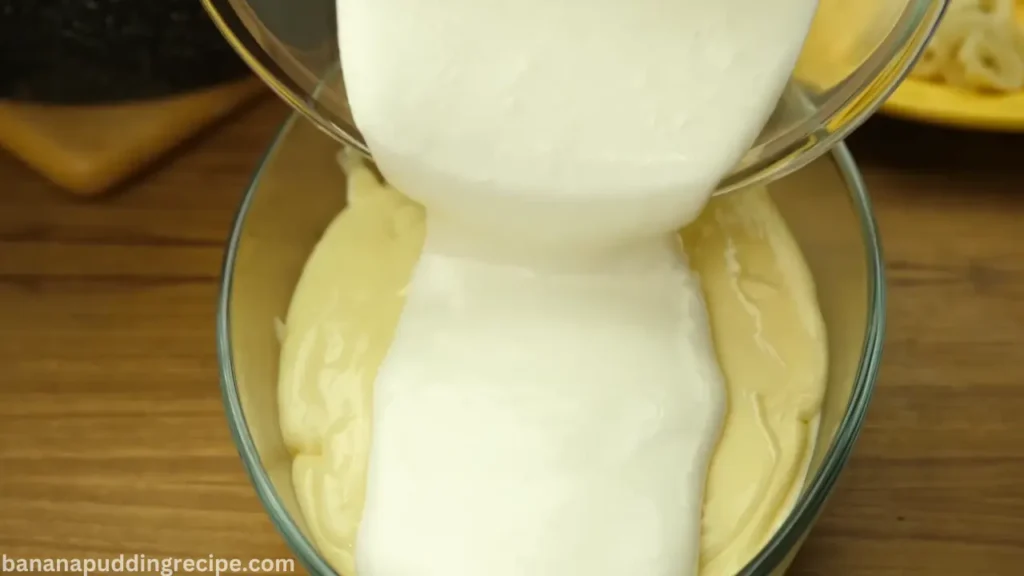
- In a bowl, add cream and beat for 2 minutes.
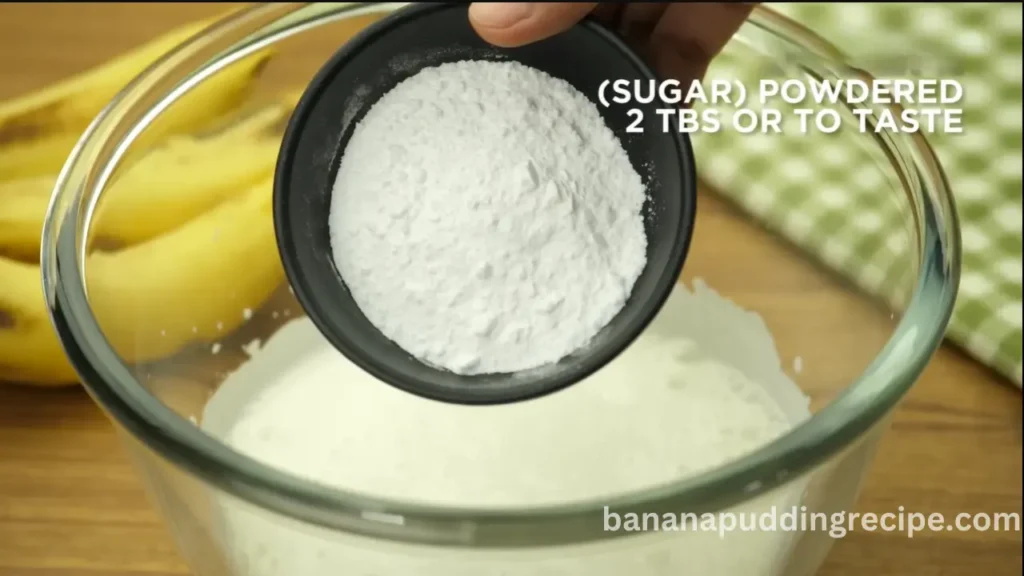
- Add powdered sugar and beat well.
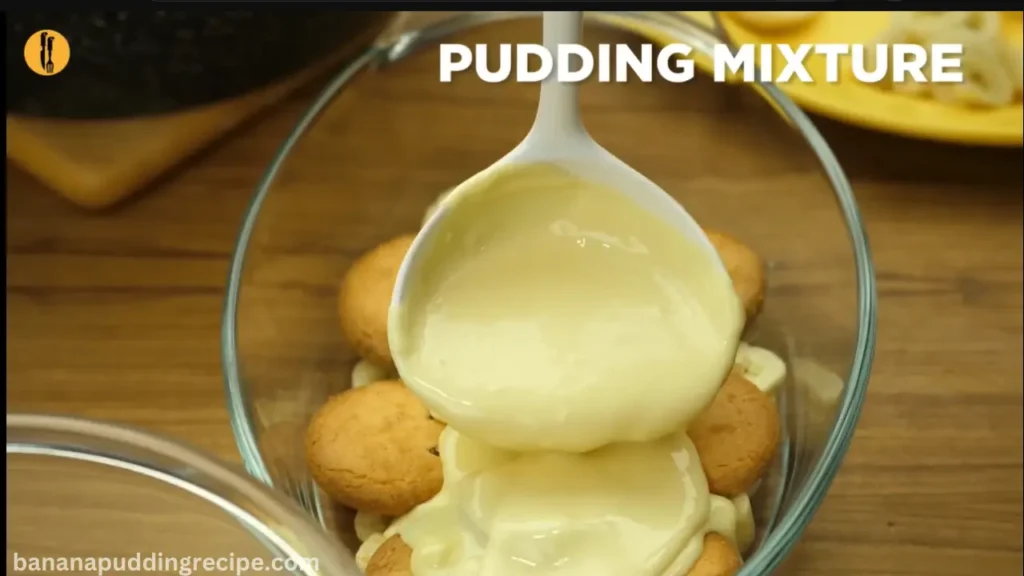
- In a serving dish, arrange sliced bananas and biscuits evenly.
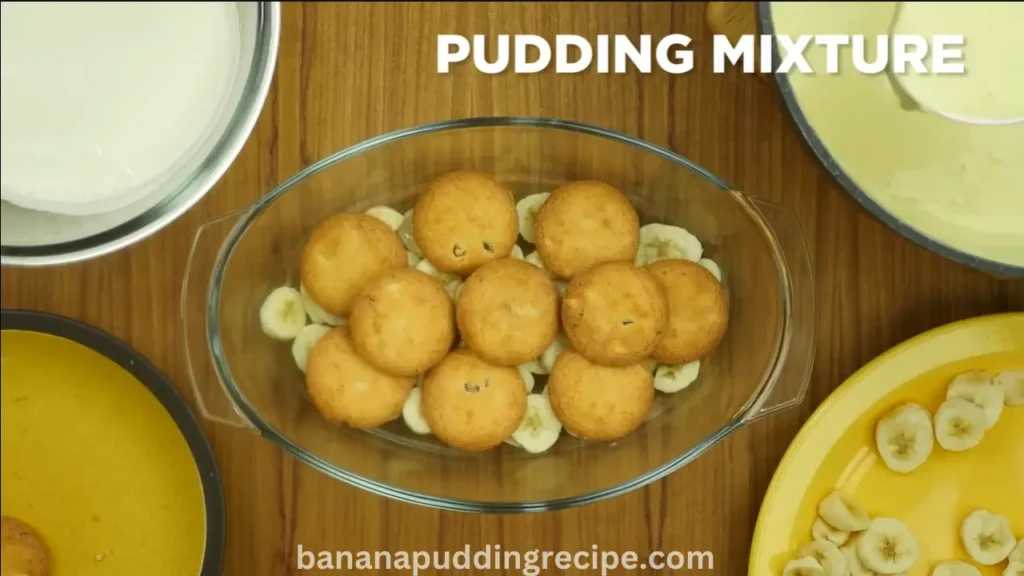
- Spread pudding mixture.
- Spread top with beaten cream.
- Refrigerate until chilled & serve.
Picking the Best Bananas to Make This Recipe
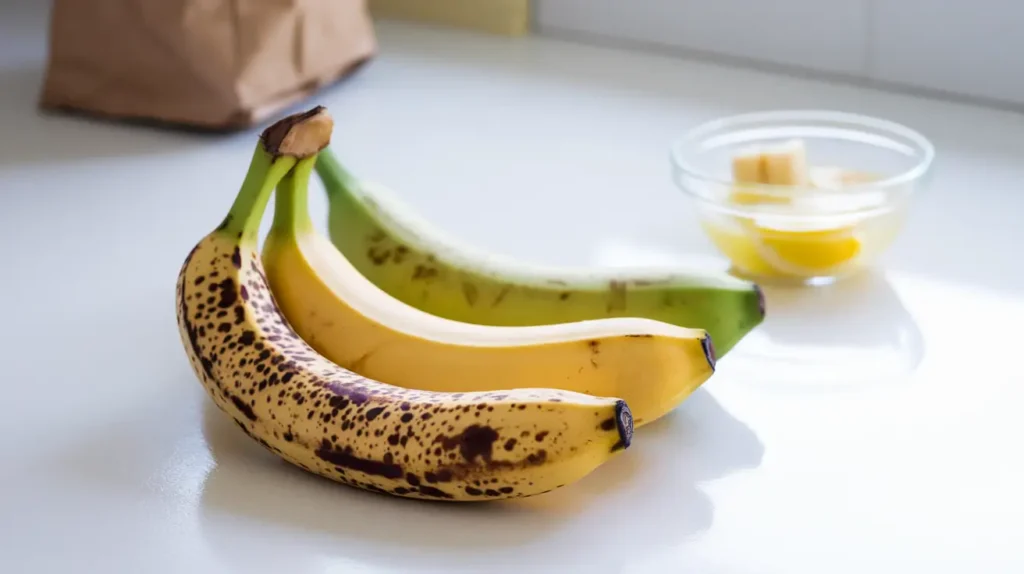
Choosing the right bananas is super important for making great banana pudding. You want bananas that are yellow with a few brown spots.
These will be sweet and soft, but still firm enough to stay in shape in your pudding. True fans of banana pudding know how important this is!
Don’t use green bananas – they’re too hard and not sweet enough. But don’t use really brown bananas either – they’ll turn into mush and make your pudding taste too strong.
If your bananas aren’t ripe enough, put them in a paper bag for a day or two to speed things up. If they’re getting too ripe, stick them in the fridge to slow it down.
Cut your bananas just before you make the pudding. This stops them from turning brown. You can use a little lemon juice to keep them fresh-looking, but don’t use too much or it will change the taste. Some easy recipes might tell you to use banana flavoring, but fresh bananas taste much better!
Why Vanilla Wafers Are Important in Banana Pudding
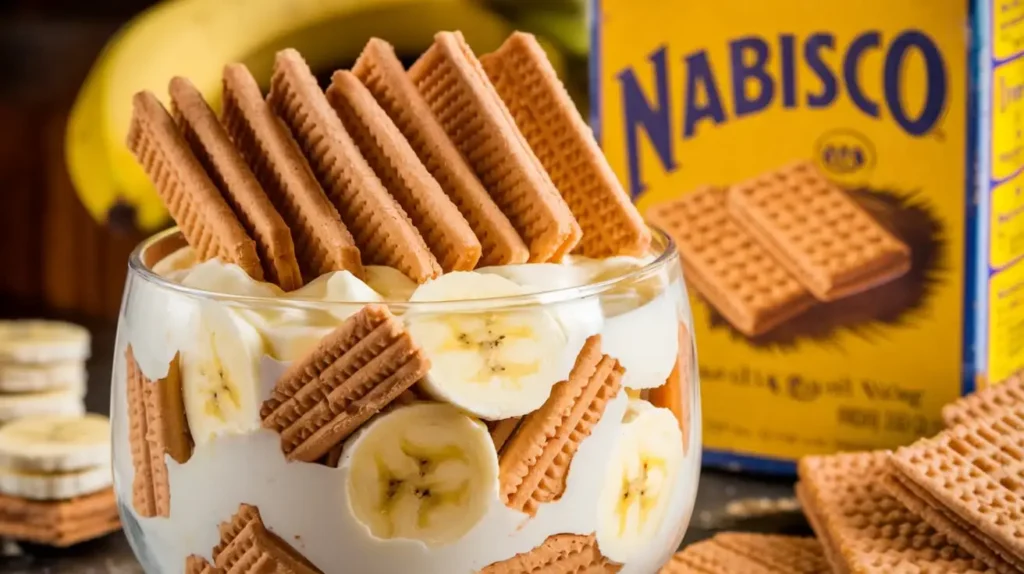
Vanilla wafers aren’t just for crunch. They are key to the feel and taste of banana pudding. These cookies soak up the pudding and get soft, almost like cake.
This goes really well with the creamy pudding and bananas. The mix of wafers and bananas is what makes Southern-style banana pudding so special.
People have been using vanilla wafers in banana pudding for a long time. Nabisco, the maker of them, started telling people in the 1900s to use them in banana pudding.
Now, they’re a must-have ingredient. Many people who’ve tasted banana pudding made with these cookies say they’re the best!
If you want to try something different, use other cookies. Try graham crackers or shortbread. If you can’t eat gluten, there are gluten-free vanilla wafers that work great too.
Whatever you choose, remember that the cookies are a big part of the pudding, not just something you put on top.
When you make your pudding, put layers of cookies and banana slices. This ensures every bite has the right mix of flavors and feels good in your mouth.
Serving Suggestions
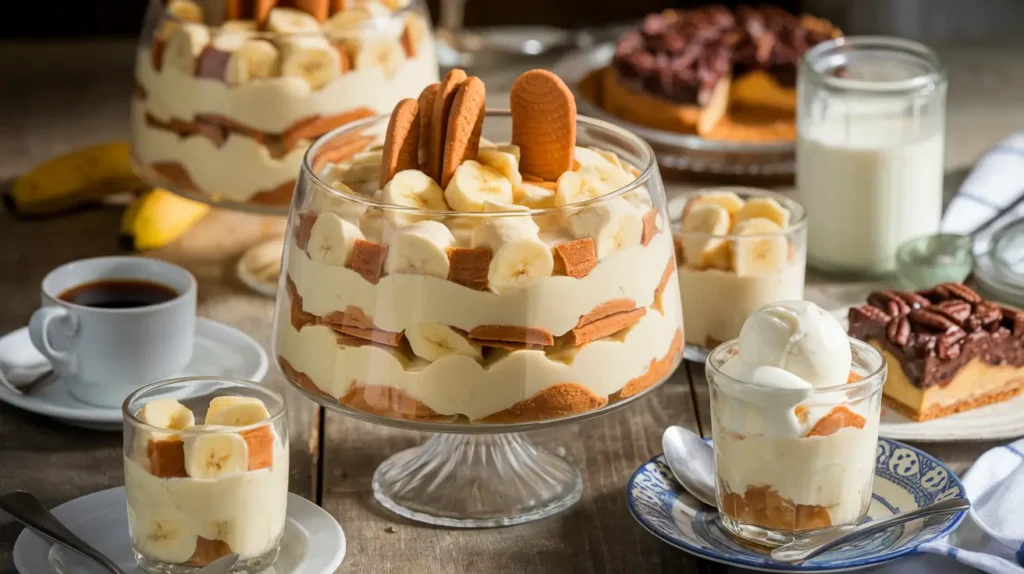
When it comes to serving your homemade banana pudding, timing and temperature are key. I find that it’s best served chilled, but not ice-cold.
Take it out of the fridge about 15-20 minutes before you plan to serve it. This allows the flavors to really shine and the texture to be just right.
For presentation, I love serving this pudding in a clear glass trifle bowl. It really shows off those beautiful layers!
If you don’t have a trifle bowl, don’t worry – a 9×13-inch baking dish works just as well. For a fun twist at parties, try serving individual portions in mason jars or dessert glasses. It’s a hit every time!
For a side to your banana pudding, I recommend strong coffee or cold milk. They pair wonderfully.
If it’s part of a dessert spread, it pairs well with other Southern classics, like pecan pie and peach cobbler. And if you really want to go all out, try serving it with a scoop of vanilla ice cream on top. Trust me, it’s heavenly!
Variations and Customizations
One of the things I love about this banana pudding recipe is how versatile it is. Here are some of my favorite variations:
No-Bake Version
If you’re short on time or it’s too hot to turn on the oven, you can make a no-bake version of this pudding. Simply use instant vanilla pudding mix instead of making the pudding from scratch. Whisk the pudding mix with cold milk per the package directions. Then, fold in some whipped cream for extra richness. Layer as usual and chill.
Healthier Alternatives
For a lighter version, you can use low-fat milk and Greek yogurt instead of whole milk and cream. Replace some of the sugar with mashed ripe banana for natural sweetness. Instead of wafers, try using crushed graham crackers or even granola for a bit of crunch.
Flavor Twists
Here are some fun flavor variations:
- Chocolate Lover’s Dream: Use chocolate pudding instead of vanilla. It’s like a banana cream pie met a chocolate pudding and fell in love!
- Coconut Banana Bliss: Add coconut extract to your pudding. Then, sprinkle toasted coconut between the layers.
- Peanut Butter Banana: For a delicious twist, swirl in some creamy peanut butter.
- Salted Caramel Banana: Drizzle some salted caramel sauce between the layers for a gourmet touch.
Remember, the key to a great banana pudding is to have fun with it. Don’t be afraid to experiment and make it your own!
Troubleshooting Common Issues
Even the most experienced bakers can run into issues sometimes. Here are some common problems with making banana pudding and their solutions:
Preventing Wafer Sogginess
A big challenge with banana pudding is keeping the wafers from getting too soggy. Here are a few tricks I’ve learned:
- Don’t add the wafers until just before serving if you can help it.
- If you need to make it ahead, try toasting the wafers slightly in the oven before using them. This helps them stand up to the moisture better.
- Use a layer of pudding on the bottom of your dish before adding the first layer of wafers. This creates a barrier between the wafers and the dish, helping them to stay crisp longer.
Fixing Lumpy Pudding
If your pudding turns out lumpy, don’t panic! Here’s what you can do:
- Try whisking it vigorously. Sometimes, this is enough to break up the lumps.
- If that doesn’t work, pour the pudding through a fine-mesh sieve, pressing it through with a spatula.
- In the future, whisk constantly while cooking the pudding. Also, temper your eggs to prevent lumps.
Dealing with Discolored Bananas
We’ve all been there – you slice your bananas and before you know it, they’re brown. Here’s how to prevent that:
- Slice your bananas just before you need them.
- If you need to slice them in advance, toss the slices with a little lemon juice. The citric acid will help to prevent browning.
- Make sure your bananas are completely covered by pudding in each layer. Exposure to air is what causes browning.
A little discoloration won’t affect the taste. So, don’t stress if your bananas aren’t perfectly yellow!
Nutritional Information
I know we’re not making this banana pudding as health food. But, it’s still good to know what we’re eating, right? Here’s a rough breakdown of the nutrition per serving (12 servings per recipe):
| Nutrients | Grams (Per Servings) |
| Calories | 400 – 450 |
| Fat | 20 – 25 |
| Carbohydrates | 45 – 50 |
| Protein | 5 – 7 |
| Fiber | 1 – 2 |
| Sodium | 0.2 – 0.3 |
- The actual values will vary depending on the specific brands and exact quantities of ingredients used.
- The sugar content is relatively high due to the condensed milk, pudding mix, and powdered sugar.
- The fat content is also significant, primarily from the cream, cream cheese, and condensed milk.
This estimate is based on standard ingredient amounts and should be adjusted if your recipe quantities differ.
Key Nutrients in This Dessert Include:
- Potassium comes from —————> bananas.
- Calcium from —————-> milk and cream.
- Vitamin A from —————> egg yolk.
- Some vitamin C comes from —————> bananas
Storage and Make-Ahead Tips
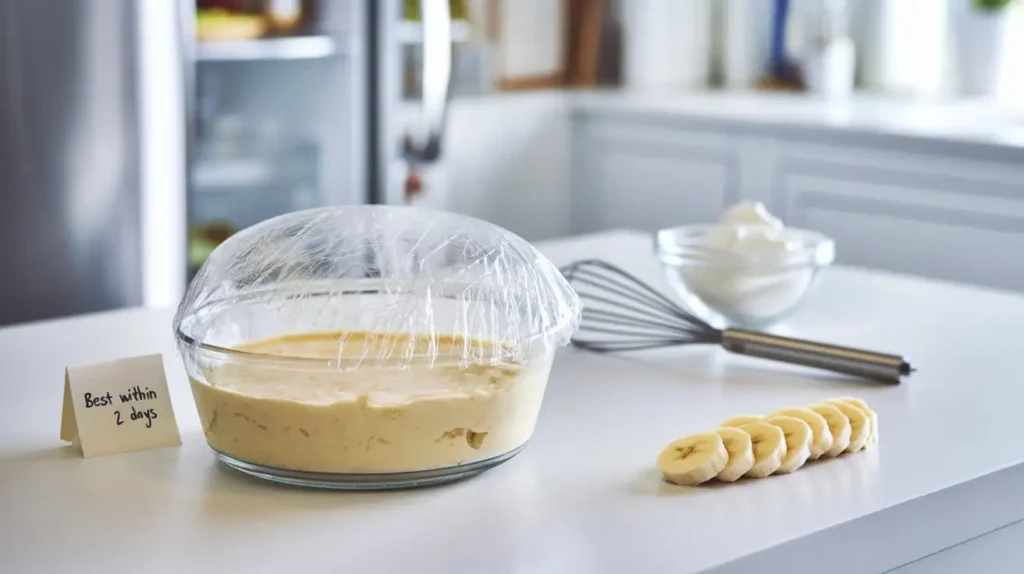
One of the great things about this banana pudding recipe is that it can be made ahead of time. Here’s how to store it properly:
1. Proper Storage Methods
Once you’ve assembled your pudding, cover it tightly with plastic wrap. Make sure the wrap is touching the surface of the pudding to prevent a skin from forming. Then, refrigerate it immediately.
2. Shelf life in the refrigerator.
When stored properly in the refrigerator, your banana pudding will last for 3-4 days. However, it’s at its best within the first 2 days. After that, the wafers may become too soggy, and the bananas may start to brown.
3. Freezing Possibilities
I’ll be honest – I don’t recommend freezing banana pudding. The texture of the pudding can become grainy when thawed, and the bananas tend to turn mushy. If you absolutely must freeze it, do so before adding the whipped cream topping. Thaw it overnight in the refrigerator and add fresh whipped cream before serving.
If you want to prep ahead, you can make the pudding base up to three days in advance and store it in the refrigerator. Then, assemble the layers and add the whipped cream just before serving.
Expert Tips for the Perfect Banana Pudding
After years of making this dessert, I’ve picked up a few tricks. Here are my top tips for making the best banana pudding ever:
1. Choosing the Right Wafers
While Nilla wafers are the classic choice, don’t be afraid to experiment. Chessman cookies can add a buttery richness, or try butter cookies for a change. Whatever you choose, make sure they’re fresh and crisp.
2. Achieving the Ideal Pudding Consistency
The key to perfect pudding is constant stirring and the right heat. Cook it over medium heat, stirring constantly, until it coats the back of a spoon. If you draw your finger through the coating, it should leave a clear path.
3. Balancing Flavors
Don’t skip the salt in the pudding – it balances the sweetness perfectly. And for an extra boost of banana flavor, try adding a drop or two of banana extract to your pudding. Just be careful not to overdo it!
Frequently Asked Questions
Conclusion
Well, there you have it – my ultimate guide to making the best banana pudding recipe you’ll ever taste.
Remember, the key points to making a stellar banana pudding are:
- Use ripe, but not overripe, bananas.
- Take the time to make homemade pudding – it’s worth it!
- Layer carefully for the best texture.
- Don’t skip the chilling time.
- Have fun and make it your own!
I believe that cooking is an act of love. It’s special to share a dessert like this with friends and family.
So, what are you waiting for? Get in that kitchen and start layering! I’d love to hear how your banana pudding turns out.
Did you try any variations? Did you serve it at a special occasion? Drop a comment below and let me know. And if you have any questions, don’t hesitate to ask.